Phase 5 · Adjust the sliders and styling
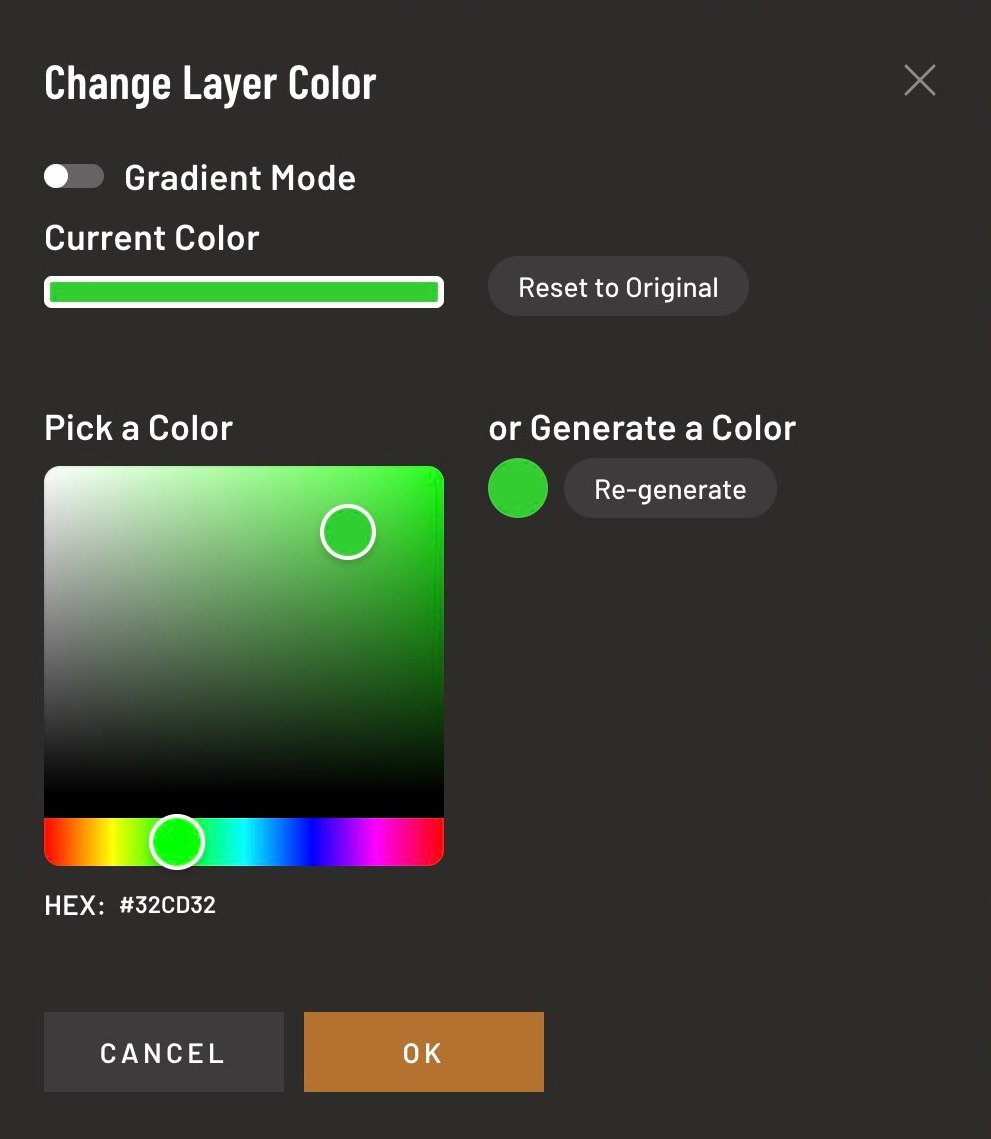
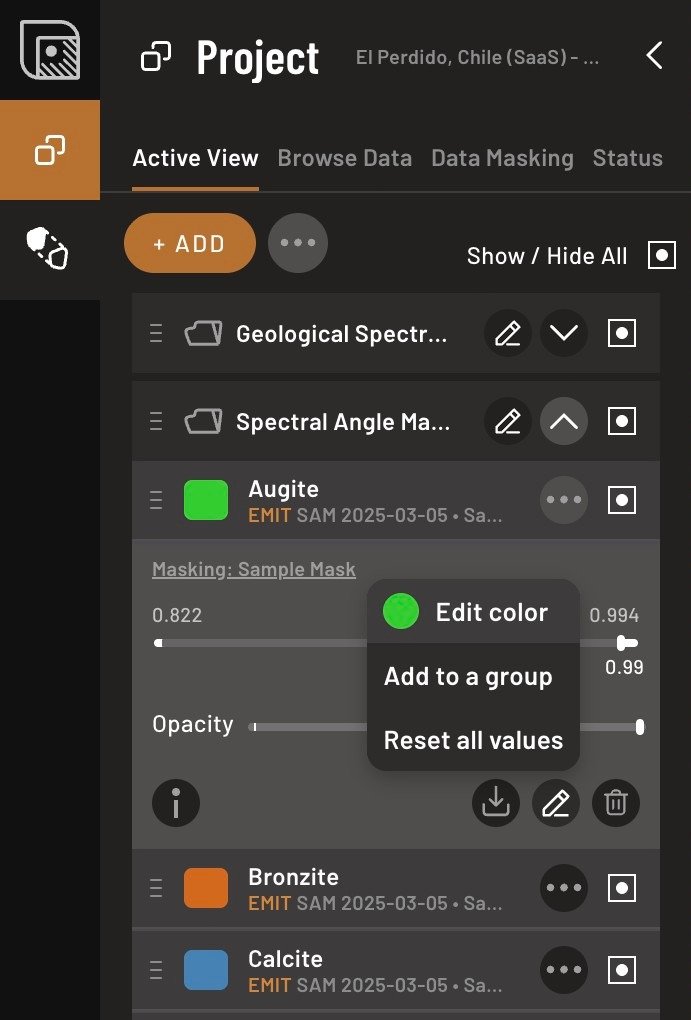
This is one of the tasks that needs an expert in the loop. You can set the threshold with the sliders in the Active View. Be aware that the slider might need to be adjusted differently depending on the layer. Turning on the gradient color scale (Layer → Edit → Edit color) shows the value distribution, so you can put the slider where the strong values break away from the background rather than guessing from the map.
Which way each slider runs
- SFF / SAM keep the HIGH values - closer to 1 is a better match. Drag the low end up until only the best-fitting pixels survive.
- GSI keep the high values too, but the scale isn't 0 to 1. Read the range on that layer's slider and work down from its top end.
- AI Spectral Targeting keep the LOW values, because a smaller value is a stronger anomaly. That's the opposite motion: drag the HIGH end down. Sanity check: as you drag, fewer pixels should survive, not more.
- Magnetics / Gravity keep the contrast rather than absolute values. Look for correlation with the known geology and other layers.
Then give each mineral its own color so you can still read the map where several of them overlap.
When there's nothing, and when there's too much
If tightening leaves you with nothing, don't loosen it until clusters appear, take the result to Phase 6. And if a layer stays washed out everywhere even at a high threshold, park it and go back to Phase 3, because if clay is everywhere then clay isn't your discriminator.
One bright pixel can still turn out to be real, so don't threshold it away and forget it. It stays a lead until its curve checks out in Phase 7, which is why you write its coordinates down.
Done when
You've set each threshold for all layers that matter in your project. Save potential locations of pixels to check by using Drawing Tool.