How to work in TerraEye
Get the best TerraEye results from your Area of Interest.
This workflow will tell you how to use the platform. It consists of nine phases in logical order. Each phase tells you what to click and how you know you're done. If at any point the abbreviations are a mystery to you, see the glossary at the bottom of the list.
The phases are based on the pass a mineral explorer runs on their own ground. If you're assessing a project rather than running one, we recommend reading Before you start, Phase 7 · Validate in the Analogy Lab, and the Record what produced it section inside of Phase 9. These explain the standards which results must meet and records which act as proof. Never skip Phase 2 as it influences your interpretation.
Contents
Set up your access
The targeting workflow
- Before you start: the big picture
- Phase 1 · Set up your area
- Phase 2 · Clean the image — Masking
- Phase 3 · Set your exploration goal
- Phase 4 · Load layers
- Phase 5 · Adjust the sliders and styling
- Phase 6 · Look for results agreement
- Phase 7 · Validate in the Analogy Lab
- Phase 8 · Bring in geophysics and geochemistry
- Phase 9 · Define your spectral targets
Reference
- Glossary: a quick guide to Layers, SFF, SAM, and more
- The app, section by section
- FAQs and troubleshooting
- Learn even more on our blog
The same workflow inside the app
You do not have to keep this page open while you work. The Tips on getting results panel on the right side of a workspace carries the same pass as a checklist you can tick off as you go.
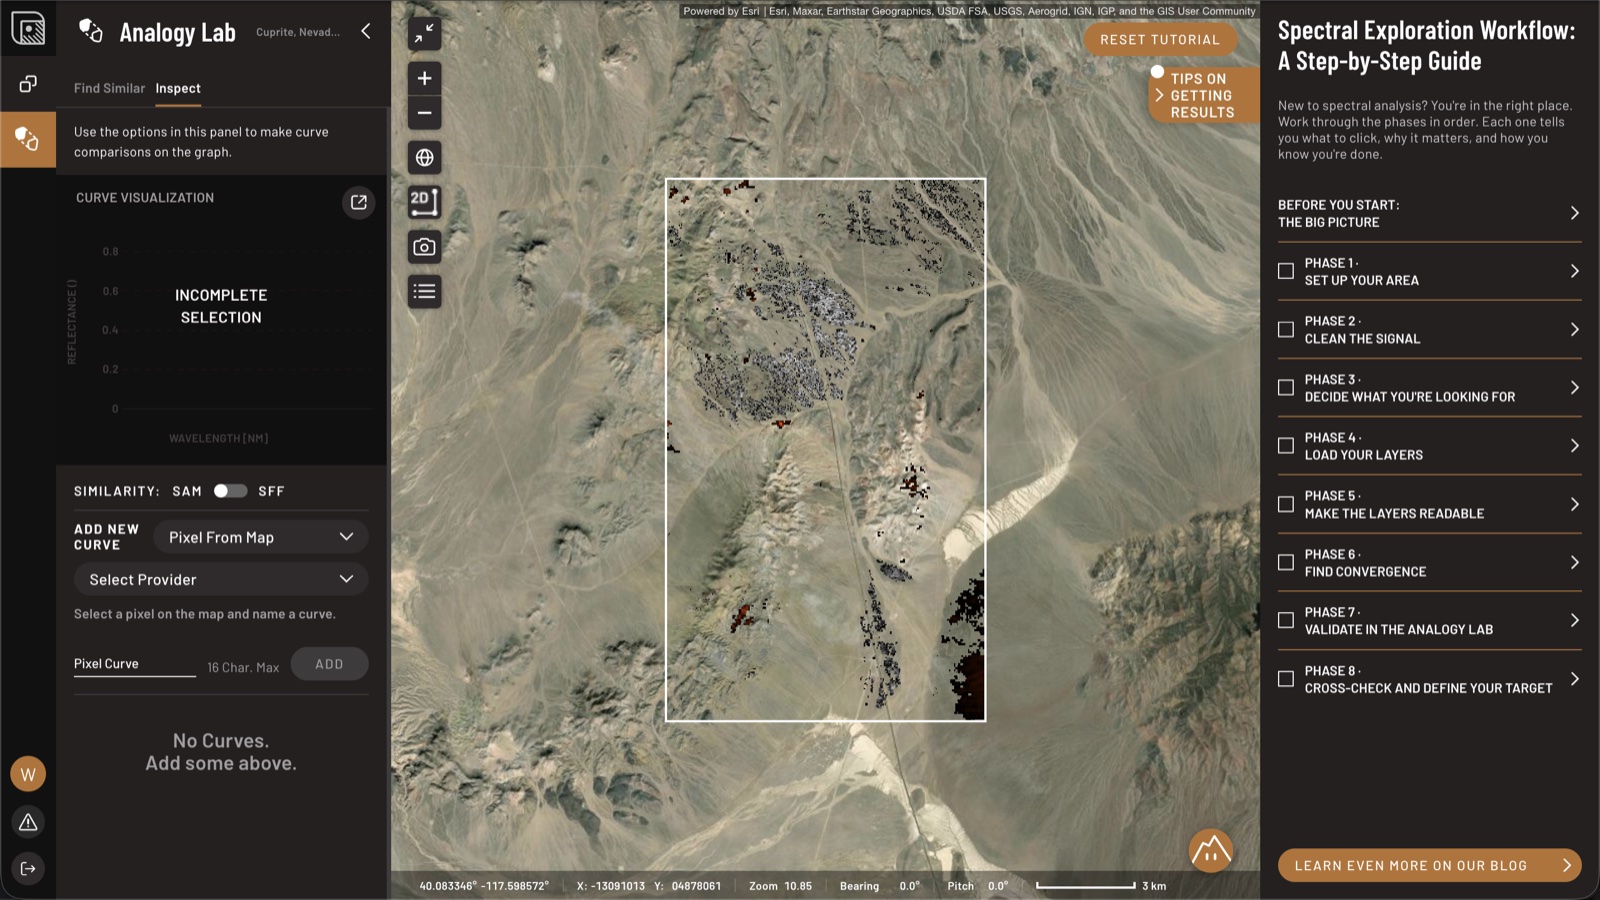
This tab covers the pass itself. For what a method actually computes, which sensor it needs, and where it misleads, follow the links into Knowledge base.