Map icons
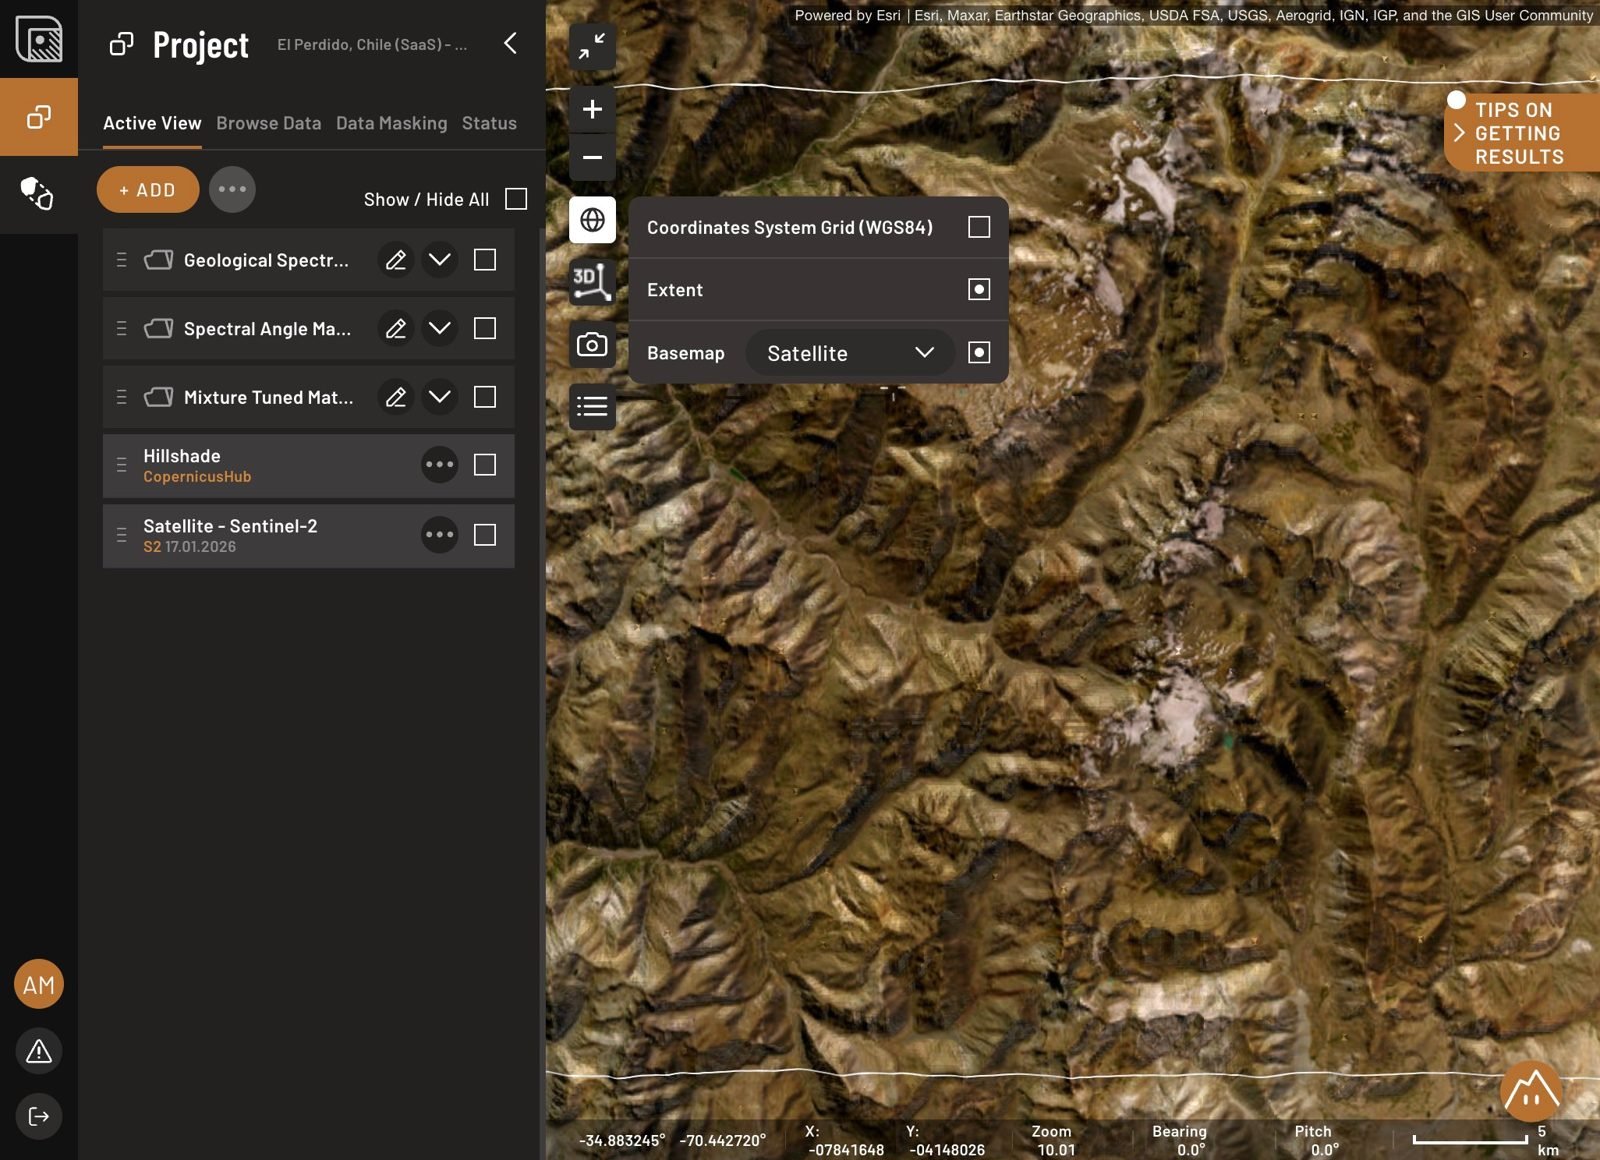
A vertical strip of icons runs down the left edge of the map, just outside the project panel. These control how you look at the area rather than what is loaded into it, so they stay available whichever tab you are working in.
In order, from the top:
- Back to AOI extent, plan view — returns the map to your area of interest, square on and fully in frame. Useful after you have zoomed into a candidate and lost your bearings.
- Zoom in and zoom out — the usual pair.
- Map settings — opens a small menu with three options: change the basemap, show the AOI extent boundary, and turn on the coordinate system grid (WGS 84).
- 2D / 3D view — tilts the map into three dimensions. This is the quickest way to judge whether a lineament follows real relief, and whether a candidate sits on a slope facing away from the sun.
- Take a screenshot — captures the current map view as an image, at the extent and zoom you are looking at.
- Turn on the legend — lists the layers currently in Active View along with a scale bar.
Layers are not map settings
Two things people look for here are layers rather than view controls, and they are added from Project → Browse Data: hillshade and hypsometric elevation, along with raw satellite imagery.
Hillshade is worth turning on early and leaving on. Slopes facing away from the sun return too little signal for a spectral method to read reliably, and there is no mask for terrain shadow yet, so hillshade is how you spot candidates sitting in it. See Topography.